Design guide · Original illustrated references
Milky white nails: sheer, creamy and pearl finishes
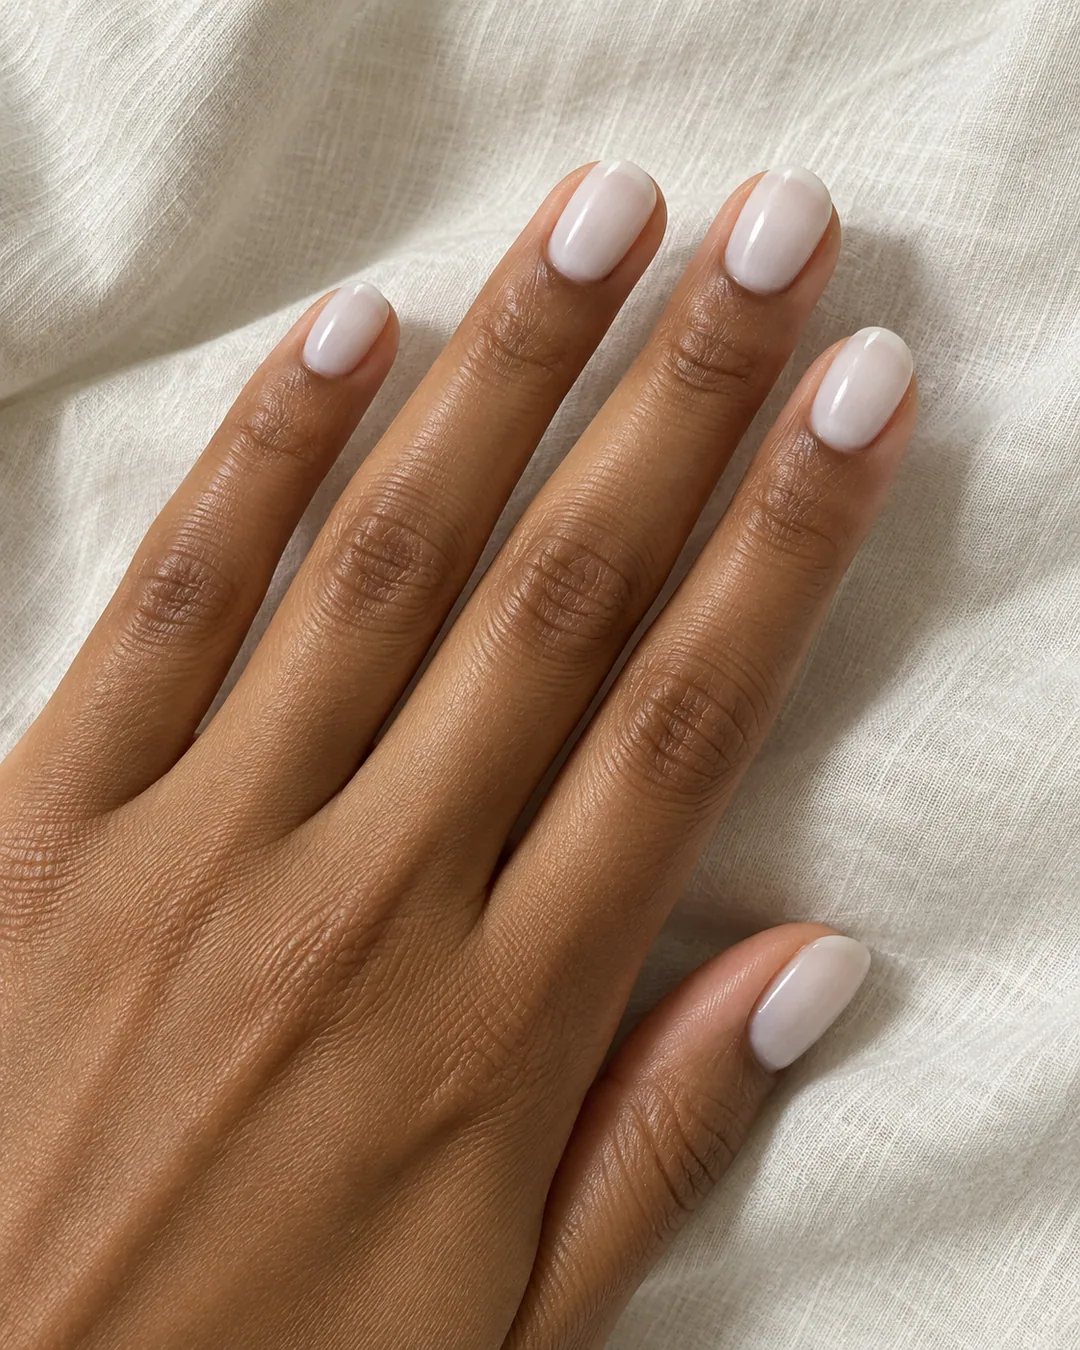
Milky white is a coverage choice as much as a colour. A translucent white can leave the natural free edge visible; a creamier finish disguises it more. Start by comparing these two effects, then decide whether you want neutral white, a warm nude veil or a pearly accent.
References to compare
These AI concepts show visual differences. They are not salon results or evidence that a specific product produces the same finish.
AI illustration
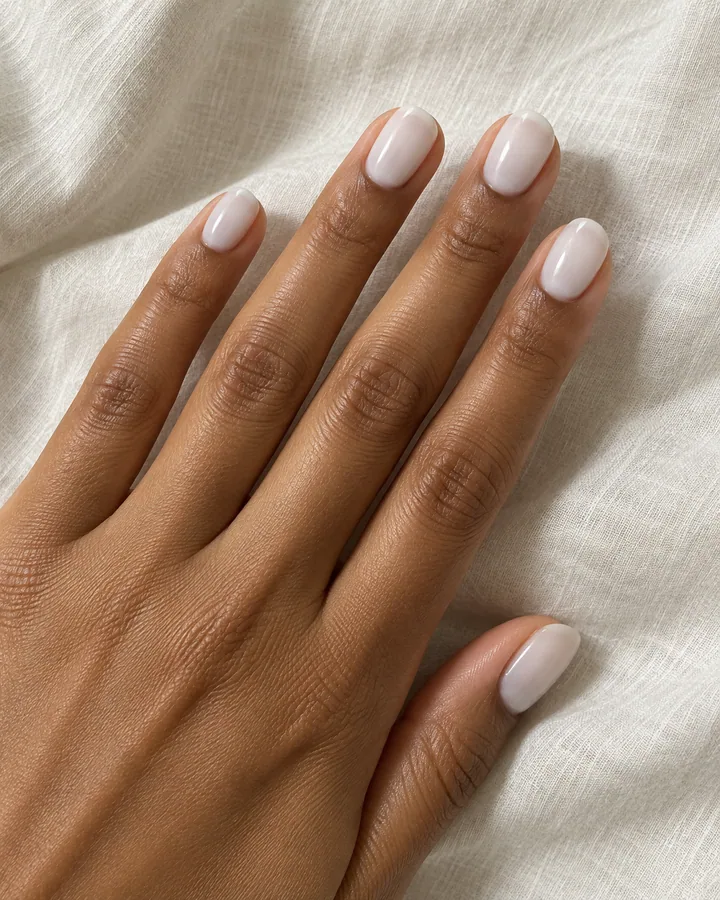
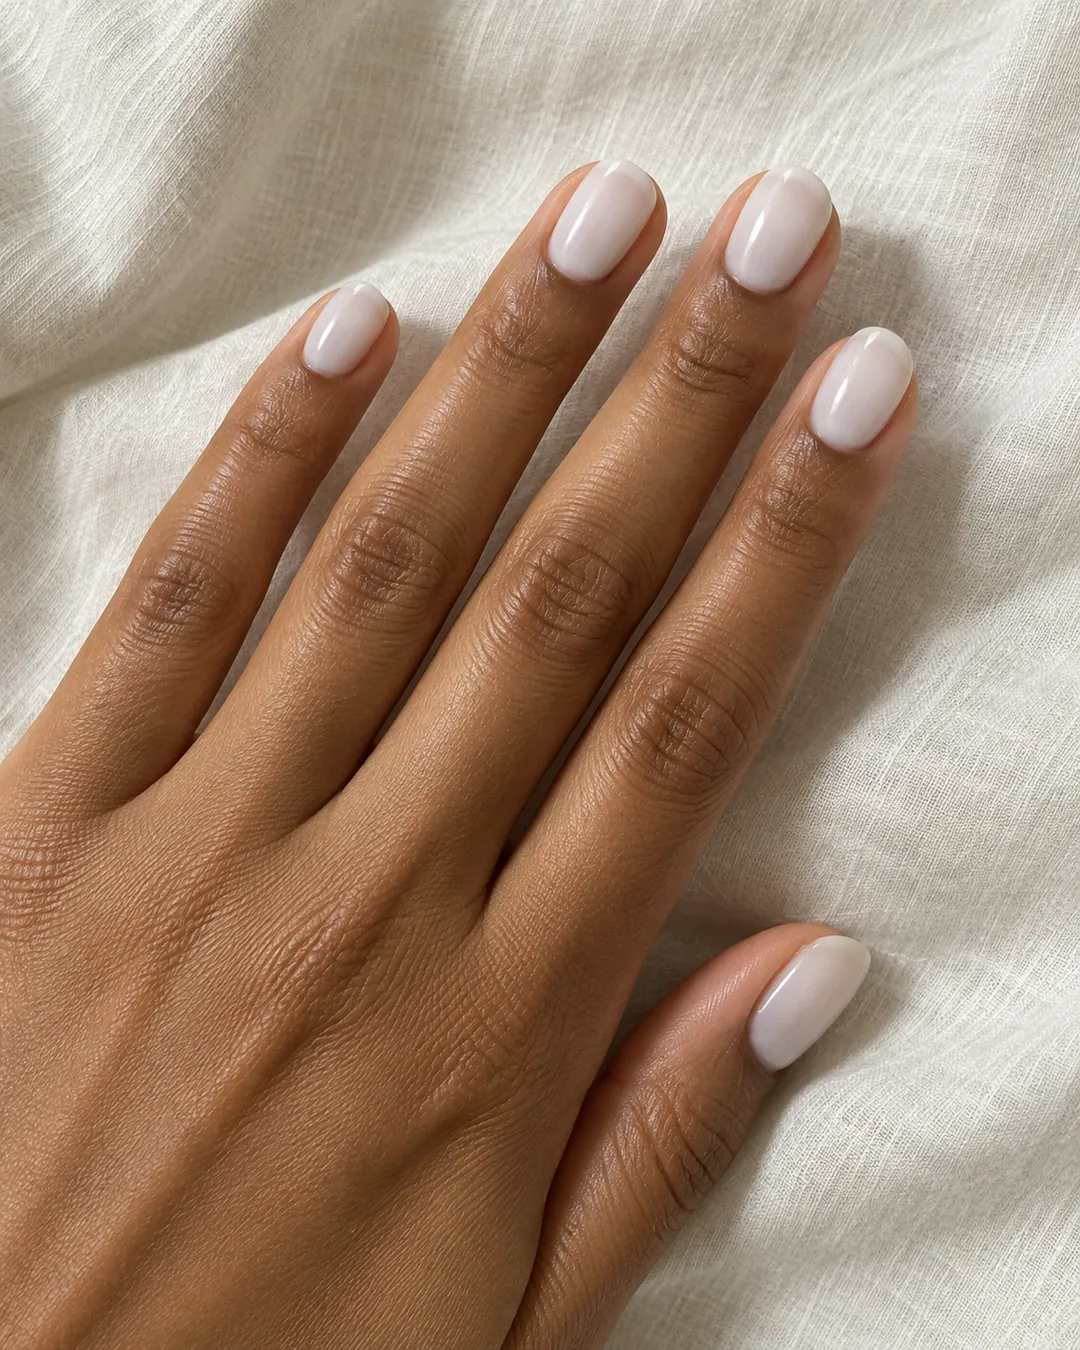
Creamy milky white
More coverage than a nude veil
Appointment note: Short oval, creamy neutral white and a glossy surface
AI illustration
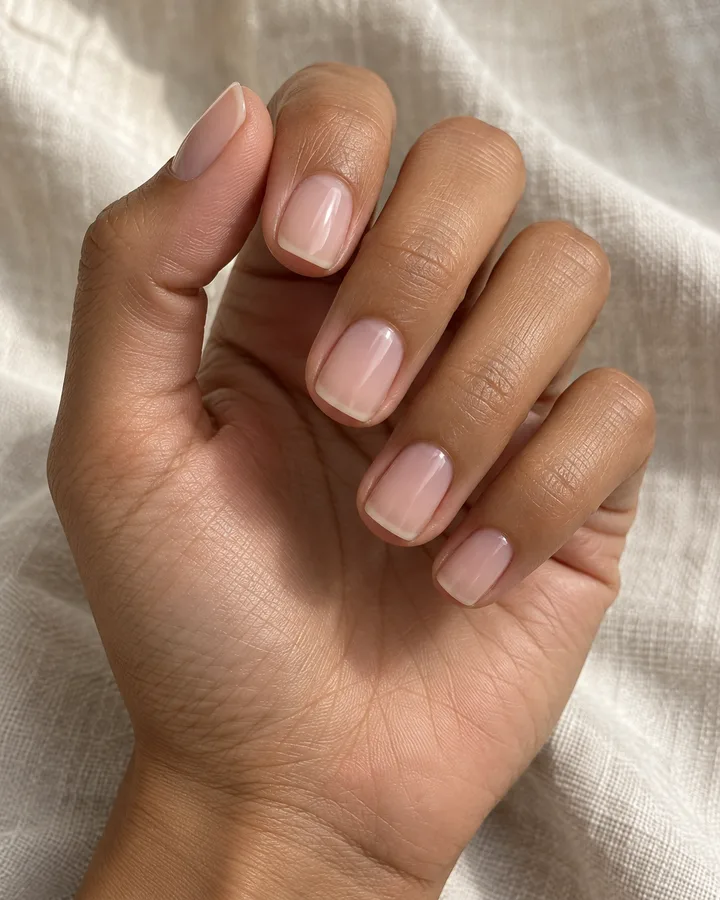
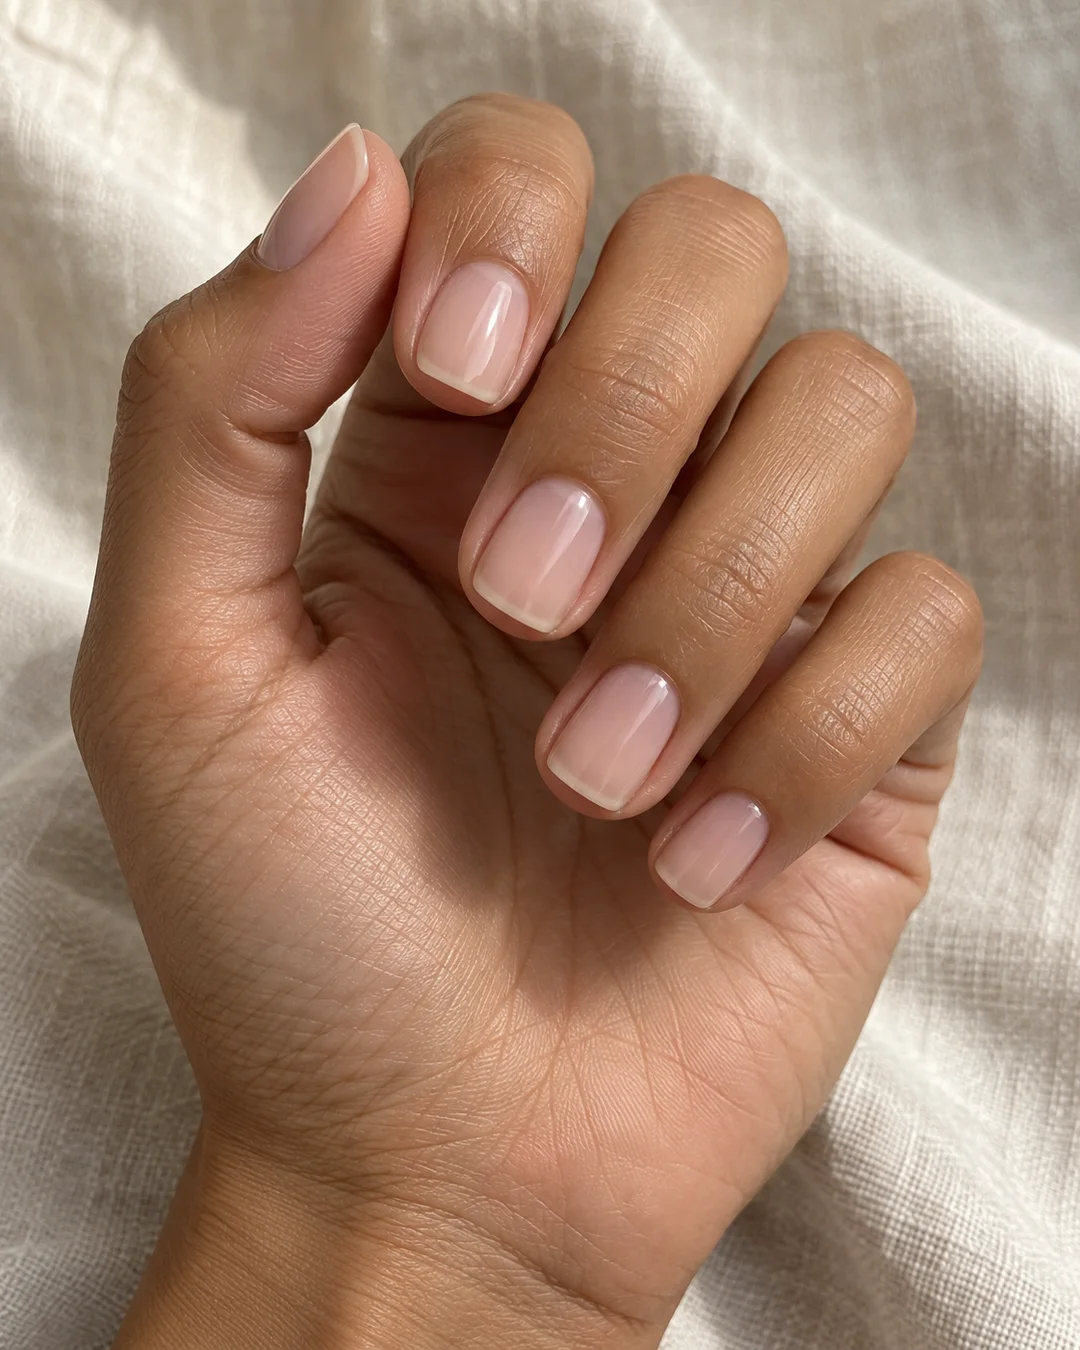
Nude veil
A soft pink tint rather than pure white
Appointment note: Short squoval, sheer nude coverage and gloss
AI illustration
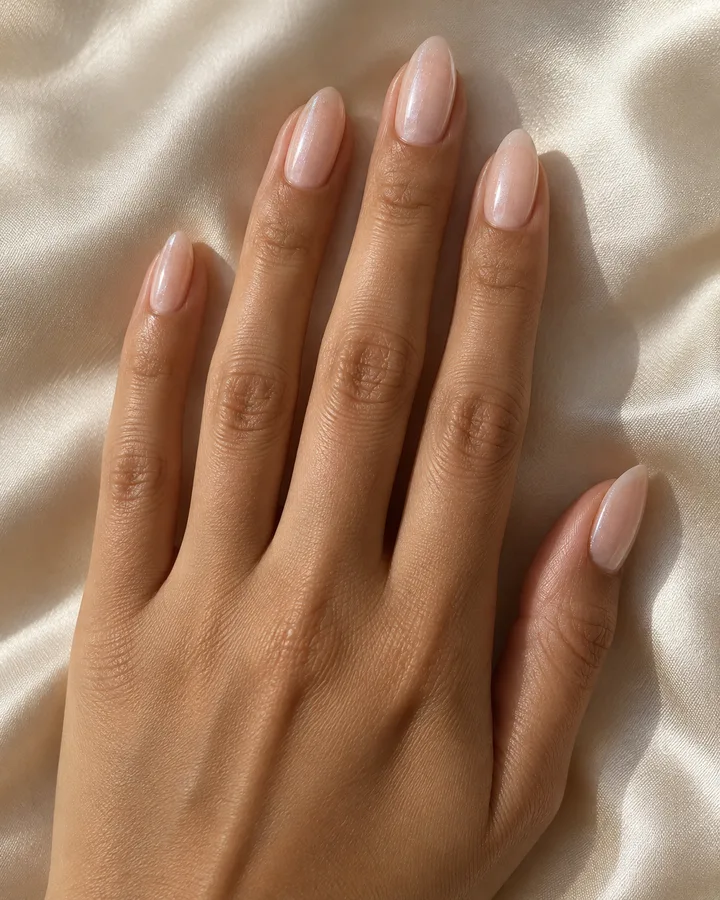
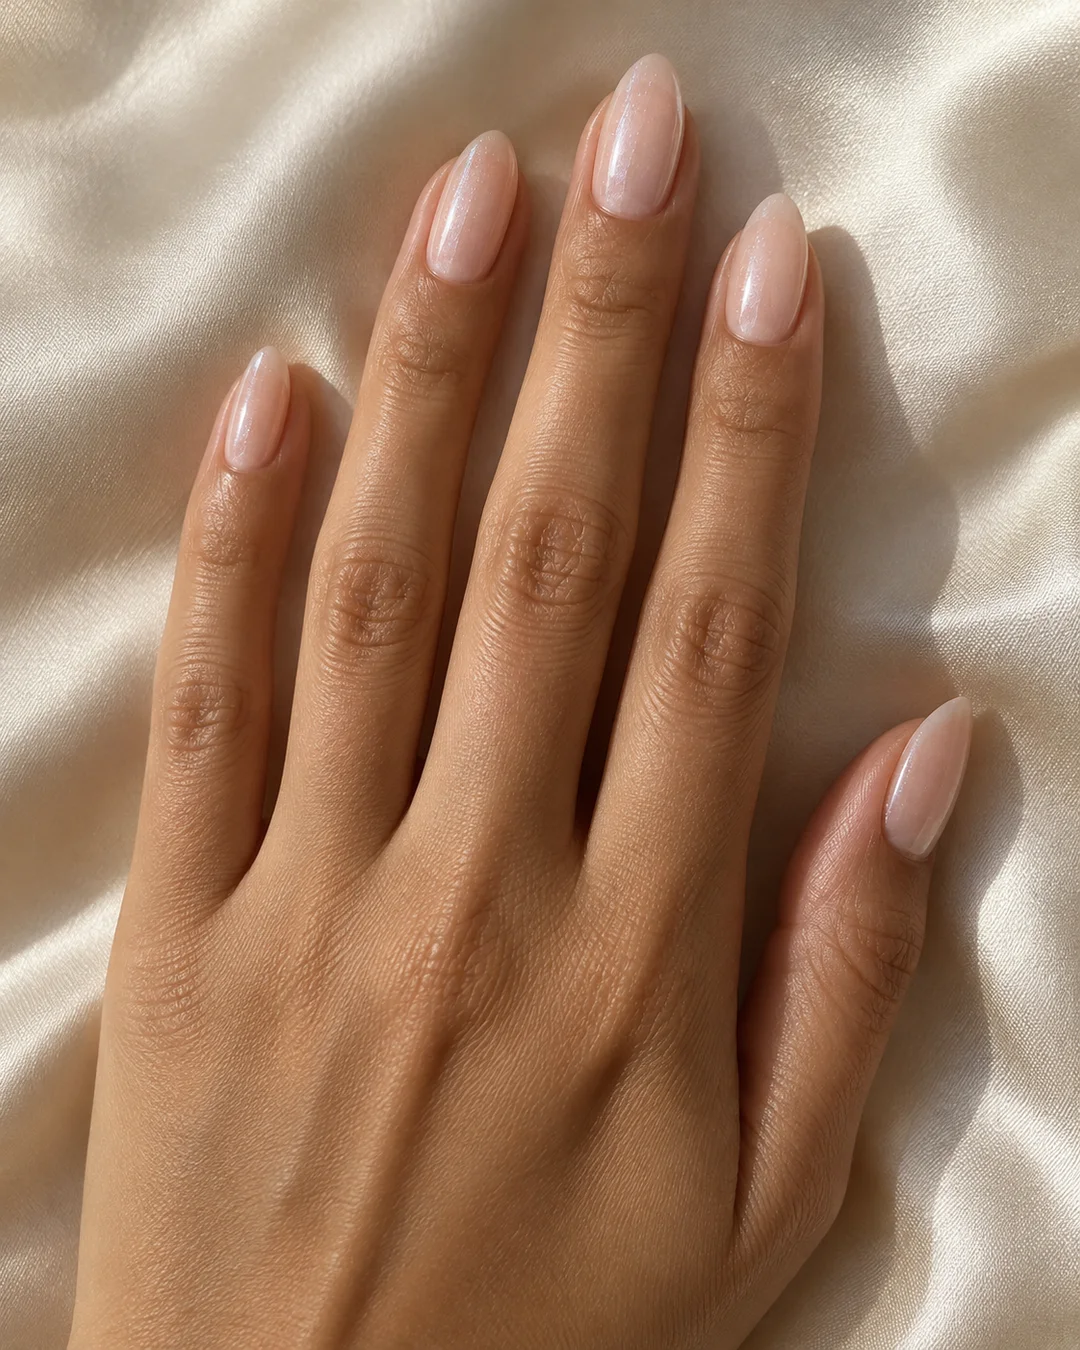
Pearl finish
A reflective glaze over a nude base
Appointment note: Soft nude colour with a restrained pearl effect
Sheer white is different from opaque white
A milky veil lets some natural nail show through. A creamy white looks more solid and changes the contrast with your skin. Ask for a sample rather than naming a colour alone: the same shade can look different over a tinted base or with different coverage. Describe how much of the free edge you want to see. Our milky white illustration shows creamier white coverage; it is not a promise of how one named bottle will appear on your nails.
Choose the undertone against your own skin
Compare a neutral white, a pink nude and a warmer ivory in natural light. None is a universal best shade. The nude reference below has a pink tint and the pearl reference has a reflective glaze; neither is the same as plain milky white. Keeping them side by side helps you decide which detail matters. Show the professional the chosen reference, then agree the actual product and sample shade.
Short shape and an even visual edge
Rounded, oval and squoval shapes create different outlines at the same wearable length. Decide which outline you like before adding a coloured tip or a pearl accent. A plain finish makes differences in the free edge easier to notice, so explain whether you want a visible natural edge or more coverage. This is an appointment brief, not an instruction to file or cover an existing nail problem.
You do not have to choose a lamp-cured system
Milky describes appearance, not a required product technology. Conventional polish, a professional service or a compatible lamp-cured system can produce different interpretations. If you shop for a kit, identify the system and its complete contents first. Check the base, colour, finish and removal instructions together; a gallery image cannot establish compatibility. The buying guides explain how to compare these items and local bundles.
Your appointment checklist
- Choose sheer or creamy coverage.
- Compare undertones in natural light.
- State whether the natural free edge should remain visible.
- Agree plain gloss or a pearl finish; they are different effects.
Planning to shop?
Choose the actual product system before buying supplies. The guides explain compatibility, contents and local shopping; an illustration does not identify a tested product.
Frequently asked questions
Are milky nails the same as white French tips?
No. Milky coverage extends across the nail. French tips add a distinct line at the free edge.
Does milky white need chrome powder?
No. A plain milky look and a reflective pearl or chrome effect are different choices.
Can I get this look with conventional polish?
Appearance does not specify the system. Discuss a suitable product and coverage with your professional or follow the chosen polish instructions.
Choose a finish and a short shape
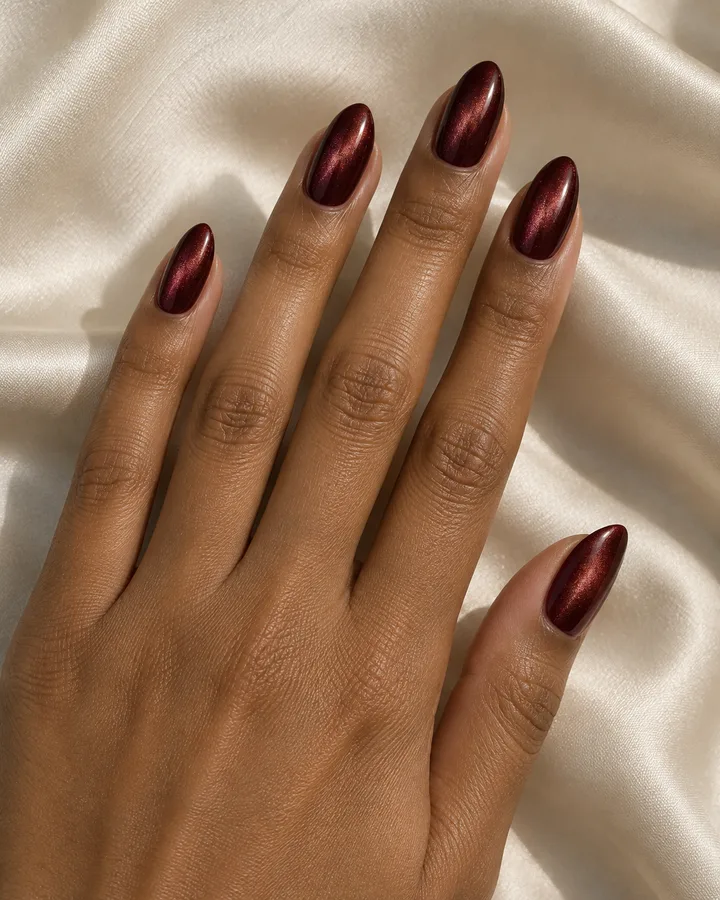 Cat-eye nails: velvet, magnetic accents and short designs
- Milky white nails: sheer, creamy and pearl finishes
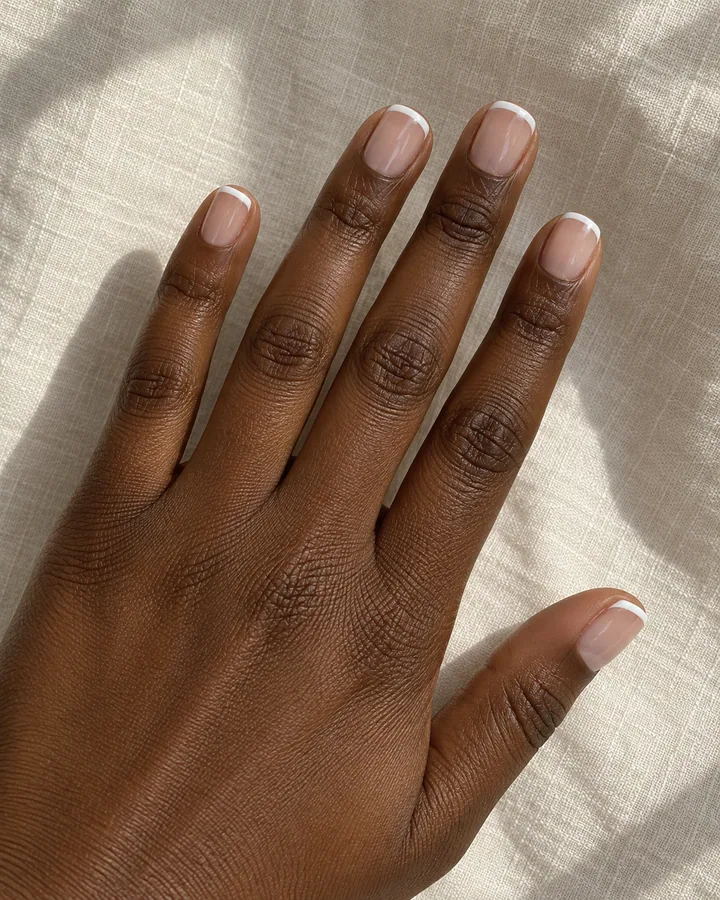 Short French tip nails: classic white and modern fine lines
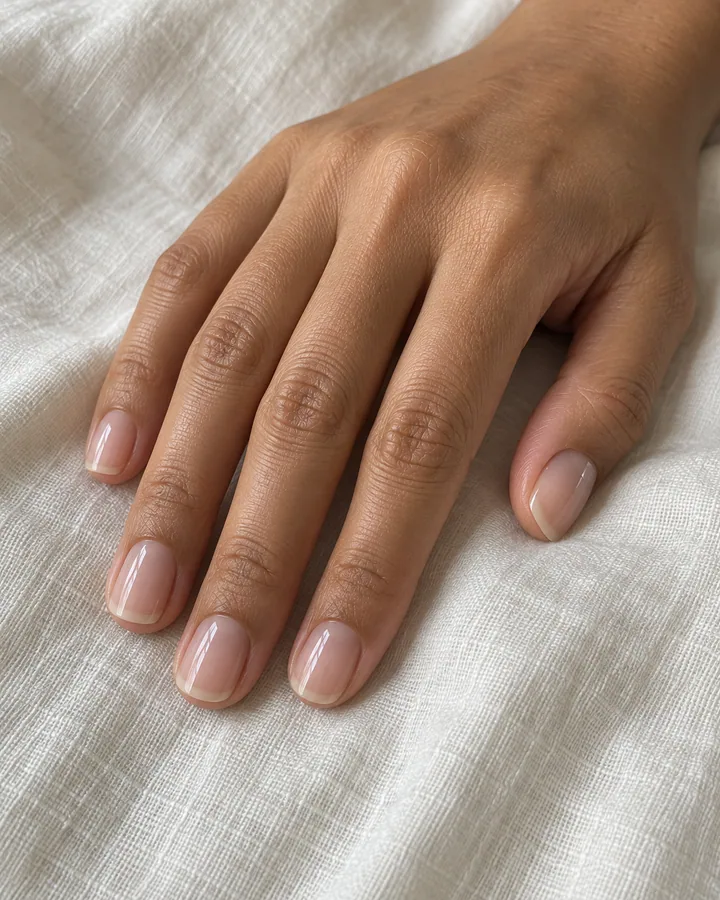 Soap nails: short sheer designs with a glossy finish
Original AI design illustrations with practical appointment notes.